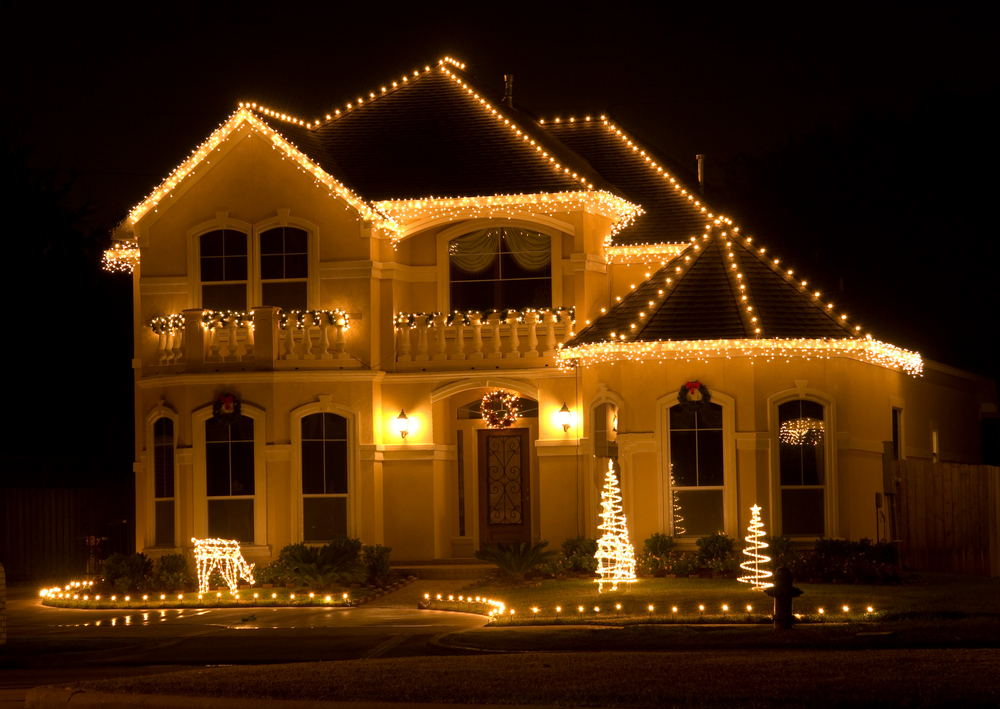
The holiday season is here, and what better way to spread the festive cheer than by decorating your home with beautiful Christmas lights? If you’ve ever wondered how to put Christmas lights on your roof, eaves, or shingles safely and effectively, you’ve come to the right place. In this comprehensive guide, we’ll walk you through the process step by step, ensuring your home shines brightly while staying safe.
Now, let’s make your holiday season sparkle and learn how to deck the halls with dazzling Christmas lights.
Choosing the Right Christmas Lights
Before you start climbing ladders and hanging lights, you’ll need to select the perfect Christmas lights for your roof. Here are a few things to consider:
- LED vs. Incandescent: LED lights are energy-efficient and last longer, while incandescent lights have a warm, traditional glow.
- Color and Style: Choose lights that match your desired theme, whether it’s classic white or vibrant multicolor.
- Length and Quantity: Measure the area you want to cover to determine how many strands you’ll need.
Safety First: Preparing for Installation
Safety should be your top priority when hanging Christmas lights on your roof. Here’s how to prepare for a safe installation:
- Inspect Your Lights: Check for any damaged wires, bulbs, or plugs before you begin.
- Gather Tools: You’ll need a sturdy ladder, clips, extension cords, and a friend to help.
- Weather Considerations: Only install lights on a dry, non-windy day to avoid accidents.
Mapping Your Lighting Design
Before you start attaching lights, create a lighting design plan:
- Measure Your Roof: Determine the length and area you want to cover.
- Sketch Your Design: Plan where the lights will go, considering the roofline, eaves, and shingles.
- Consider Power Outlets: Ensure you have accessible outlets to power your lights.
How to Hang Christmas Lights on the Roof
Now, let’s get into the nitty-gritty of hanging lights on your roof:
Step 1: Attach Clips or Hooks
When it comes to hanging Christmas lights on your roof, step one is crucial. Here’s how to do it:
- Choose the Right Clips or Hooks: Select plastic clips or hooks designed specifically for outdoor use. They are weather-resistant and won’t damage your roof.
- Proper Spacing: Attach these clips or hooks along the roofline or eaves with even spacing. This spacing will ensure your lights are evenly distributed and create a harmonious, balanced look.
Step 2: Hang the Lights
Step two is where the magic starts to happen. Here’s how to hang your lights:
- Start at One End: Begin at one end of your roof, preferably near a power source. Starting at a convenient location makes it easier to plug in your lights.
- Securing the Lights: Carefully secure the lights to the clips or hooks you installed in step one. This part may require some patience, especially if you’re aiming for a professional look. Follow your design plan meticulously to ensure your lights are evenly spaced and well-arranged.
- Work in Sections: If you have a larger area to cover, consider working in smaller sections. This approach allows you to focus on one area at a time and maintain consistency in your lighting display.
Step 3: Secure the Cords
In the final step, we ensure safety and aesthetics by securing the cords:
- Neatly Tuck Cords: Tuck the cords and wires neatly along the roofline, eaves, or any other surfaces. This not only prevents tripping hazards but also keeps the cords out of sight, making your display look more polished.
- Cord Fasteners: Consider using cord fasteners or cable ties to bundle and secure excess cords. This will help maintain a clean and organized appearance.
- Extension Cord Management: If you’re using extension cords to reach power outlets, make sure they are safely secured and hidden. You can use clips or hooks to keep them in place.
With these three crucial steps, your Christmas lights will not only shine bright but also remain safe and secure throughout the holiday season. Happy decorating!
Christmas Lights on Eaves: A Delicate Touch
Hanging lights on the eaves adds a charming touch to your holiday decorations, but it requires a delicate approach. Let’s delve into the details of how to do it safely and effectively:
Eaves Clips: Your Eaves’ Best Friends
Eaves are a delicate part of your home’s structure, and it’s essential to protect them while adding some festive flair. Eaves clips are your best friends for this job:
- Why Eaves Clips? Eaves clips are designed to securely hold your Christmas lights without causing any damage to the eaves. They usually feature a soft, non-abrasive material on the inside to grip gently.
- How to Use Eaves Clips: To attach the lights, simply open the eaves clips and slide them onto the eaves. Make sure they are properly secured but not too tight, so they don’t cause any indentation or harm.
- Proper Spacing: Just like with roof clips or hooks, ensure even spacing along the eaves. This not only helps in achieving a balanced and beautiful display but also maintains the eaves’ integrity.
Check the Angles: Keep It Straight and Sag-Free
Once your lights are attached to the eaves, it’s essential to make sure they are hanging straight and not sagging. Here’s how to ensure they’re perfectly aligned:
- Use a Level: A level is your secret weapon to check that your lights are perfectly horizontal. Hold it against the bottom of the lights to make sure they are in a straight line. This level line will give your display a polished and professional appearance.
- Prevent Sagging: To avoid lights sagging in between eaves clips, gently adjust them as needed. Ensuring that they are taut not only looks better but also reduces the risk of tangling or damage.
- Step Back and Review: After securing your lights, take a few steps back to view your handiwork. This perspective allows you to spot any irregularities and make immediate adjustments.
Hanging Christmas lights on the eaves may require a gentle touch, but with the right tools and techniques, you can achieve a flawless and eye-catching display that adds to the charm of your holiday decor. So, go ahead and transform your eaves into a mesmerizing canvas of light, spreading holiday cheer in style!
Powering Up Your Festive Display
Once your lights are in place, it’s time to power them up:
- Extension Cords: Use outdoor extension cords to reach power outlets.
- Timers or Remote Control: Consider timers or remote controls for convenient operation.
Tips for Maintaining Your Roof Christmas Lights
To keep your display looking great throughout the season:
- Regularly check for burnt-out bulbs and replace them promptly.
- Clean the lights and wires from dirt and debris to maintain their brightness.
Your Reliable Miami Roofing Partner
If you need assistance with your roof or want to ensure it’s in top shape for your Christmas light installation, Del Sol Roofing is your trusted partner. With years of experience and a commitment to quality, they offer a wide range of roofing solutions in Miami. Contact Del Sol Roofing to ensure a sturdy roof that complements your festive decorations.
In conclusion, hanging Christmas lights on your roof can be a delightful and safe experience with the right guidance. By choosing the right lights, preparing for installation, and following our step-by-step instructions, you’ll be able to create a dazzling holiday display that spreads joy and warmth. Happy decorating!